25 Jan Tips to Navigate the Airport Like a Pro
I think I’m finally finding my grove in 2019. It’s safe to say 2018 was, well, a lot for me. And I mean that in good ways and bad. One way that was absolutely amazing involved traveling. I knew I wanted to travel more and let me just say this, be careful what you ask for! If you’ve been following me on Instagram, then you know that the last few months of 2018 were full of getaways, from Canada to Guadeloupe to Dominican Republic to domestic trips to Richmond and Nashville. At times it felt like my head was spinning {I was on six flights within a 3 day period!} but one thing that was great? Well, besides the frequent flier miles I racked up?
I learned a ton about navigating the airport like a pro. I already felt like I was pretty efficient, but over the past few months I just really nailed the process. And of course, I’m sharing the tips with you!
I’ve done a ton of posts on how to pack your carry-on bag like a pro, but this particular blog is all about navigating the airport with as little frustration as possible.

Compile a Master Doc
If you haven’t checked in for your flight online, the first thing you probably do at the airport is head to the check in kiosk. And the next thing you do might be to open up your email with the confirmation number or your wallet to enter the credit card number that was used to book the flight. Nope, don’t do that! What I’ve started doing is creating a master document and saving it as the background on my phone. It’s simply something I create in the Notes app that includes the terminal, flight number, boarding and departure times, confirmation number, frequent flier number, and more. These are all the things you might need on hand and instead of searching through a series of emails, it’s just in one place. The reason I like to save the list as the background image on my phone is pretty simple: it saves me an additional step of having to unlock my phone and open the Notes app. It’s just as simple as pressing a button or even looking at the phone and the background image is there. Easy peasy!

Layer Your Personal Item
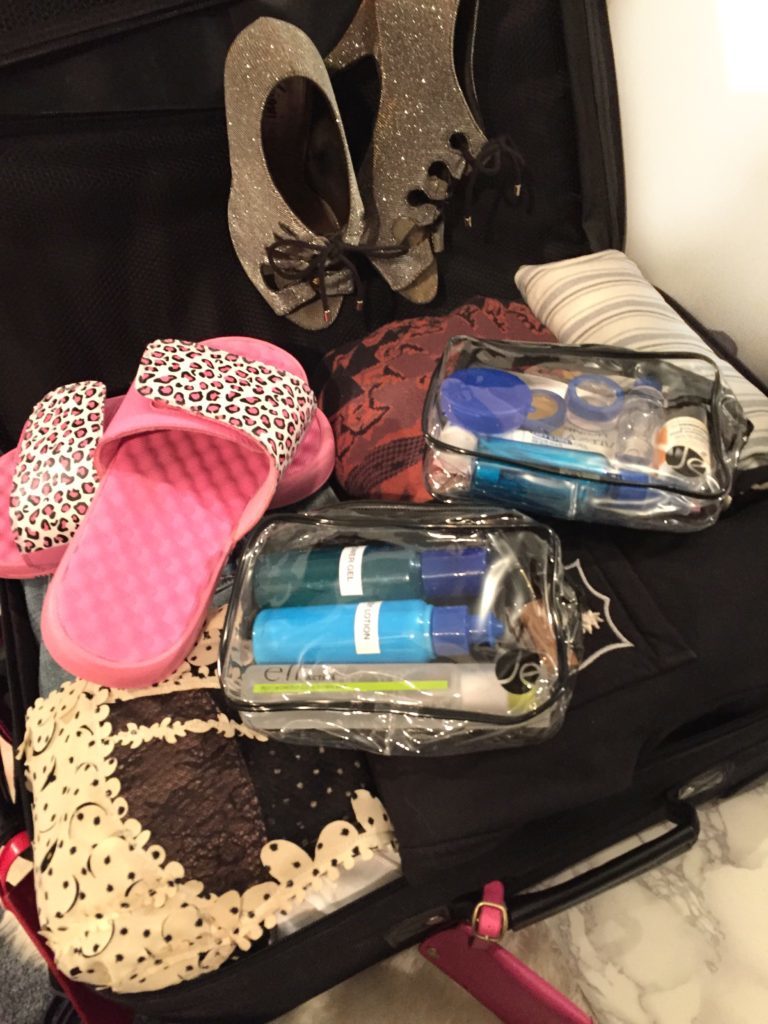
The morning of your flight is prime time to focus on what you’re going to pack in your personal item {small tote or backpack} that will be placed under the seat. You know when you’re behind someone who’s digging through their bag and they’re holding up the line? That person clearly didn’t take the Patrice method of layering. The layer method is all about placing the least used items on the bottom and the items you’ll need access to closer to the top. For example: if I have a spare change of clothes or shoes in my backpack, I probably won’t need them on the flight, so they’re at the bottom. On the flip side, my charger, snacks, and toiletries go on the top. These are the items I’ll need while at the airport and/or on the flight. Also, I like to group like items in small, clear plastic bags {snacks in one bag, electronics/chargers in another, essentials like my passport, pen and boarding pass in another, etc.}. This makes retrieving them so much easier and since the bags are clear, no need to open them up to see what’s inside. I use these clear cosmetic bags you can get on Amazon or pretty much anywhere.

Breeze Through TSA
While it totally makes sense for TSA to have a single set of rules that every airport follows, that’s just not the case. Sometimes you need to take your shoes and belt off, sometimes they just don’t care. Sometimes they ask you to remove your three ounce products, sometimes it’s just, eh whatever! Either way, you want to be prepared. I always keep my small toiletries bag {see my post on how to pack your TSA-approved beauty bag here} on the top of my small tote bag. This way, just in case I do have to take it out, it’s easily accessible compared to having to open my carry-on suitcase. And after I make it through security, then I can place the toiletries bag in my suitcase. Also, my shoes tend to be the first item I place on the conveyor belt. I hate going through the screening and my bags have made it and now I’m just standing there in thin socks waiting on my shoes to come through. Instead, just before I walk through the scanner, I place my shoes on the belt and they’re there to greet me on the other side. And if my bags get held up through the scanner, I can take a second to put my shoes on and be ready to go by the time my carry-on makes it through.
Those are just a few ways to breeze through the airport with a bit of ease. Also, I recently appeared on a segment for NBC Better and you can check out some of these tips, including additional travel packing hacks.
Cheers to more travel and adventures in 2019. I’m heading to Miami next week and then Colorado soon after, so be sure to follow along on Instagram {@PatriceJWill} for the live action.
No Comments